POST PROCESSING to answer the question in the title.
As the second year draws to a close I figured that I would send it off with a blog that simply goes over in minor detail all of the things I gathered out of our graphics class, and then maybe even elaborate on how I feel about the year coming up in the future.
First of all, the graphics class was absolutely difficult, some concepts are not only hard to grasp but they are all launched at you in fast succession. Things like FrameBuffer objects, Vertex Buffer objects, the concept of finally depending on the GPU to do things that control graphics, and even the concept that you can use the GPU for much more than that!
Spanning from FrameBuffers comes post processed effects, where you store the normal screen output to a frame buffer, and then use that very frame buffer which in essence is a picture of your normal output to the screen, and change it. The fact that you can literally decide to not send the output of the graphics pipeline directly to the screen and rather to a texture to be manipulated just like any other image is mind blowing. It opens up many avenues for creativity! When you take into consideration that the pixels on your screen are simply data, color data at that. You can then have the concept in your mind that you can make that very same data do whatever you like. You can even output the screen to a frame buffer and then bind that to a character. Which would look very weird yes. But you would be able to see the output of the screen or of a screen on a character. Concepts like that give game development a whole new look. Honestly when I learnt of it I was flaber gasted, as the notion of being able to manipulate the screen image after it was changed by shaders. I do know that I did do a blog on post processed effects (mostly bloom) but I will again post a diagram of what a Frame buffer object or FBO would look like if you visualized it.
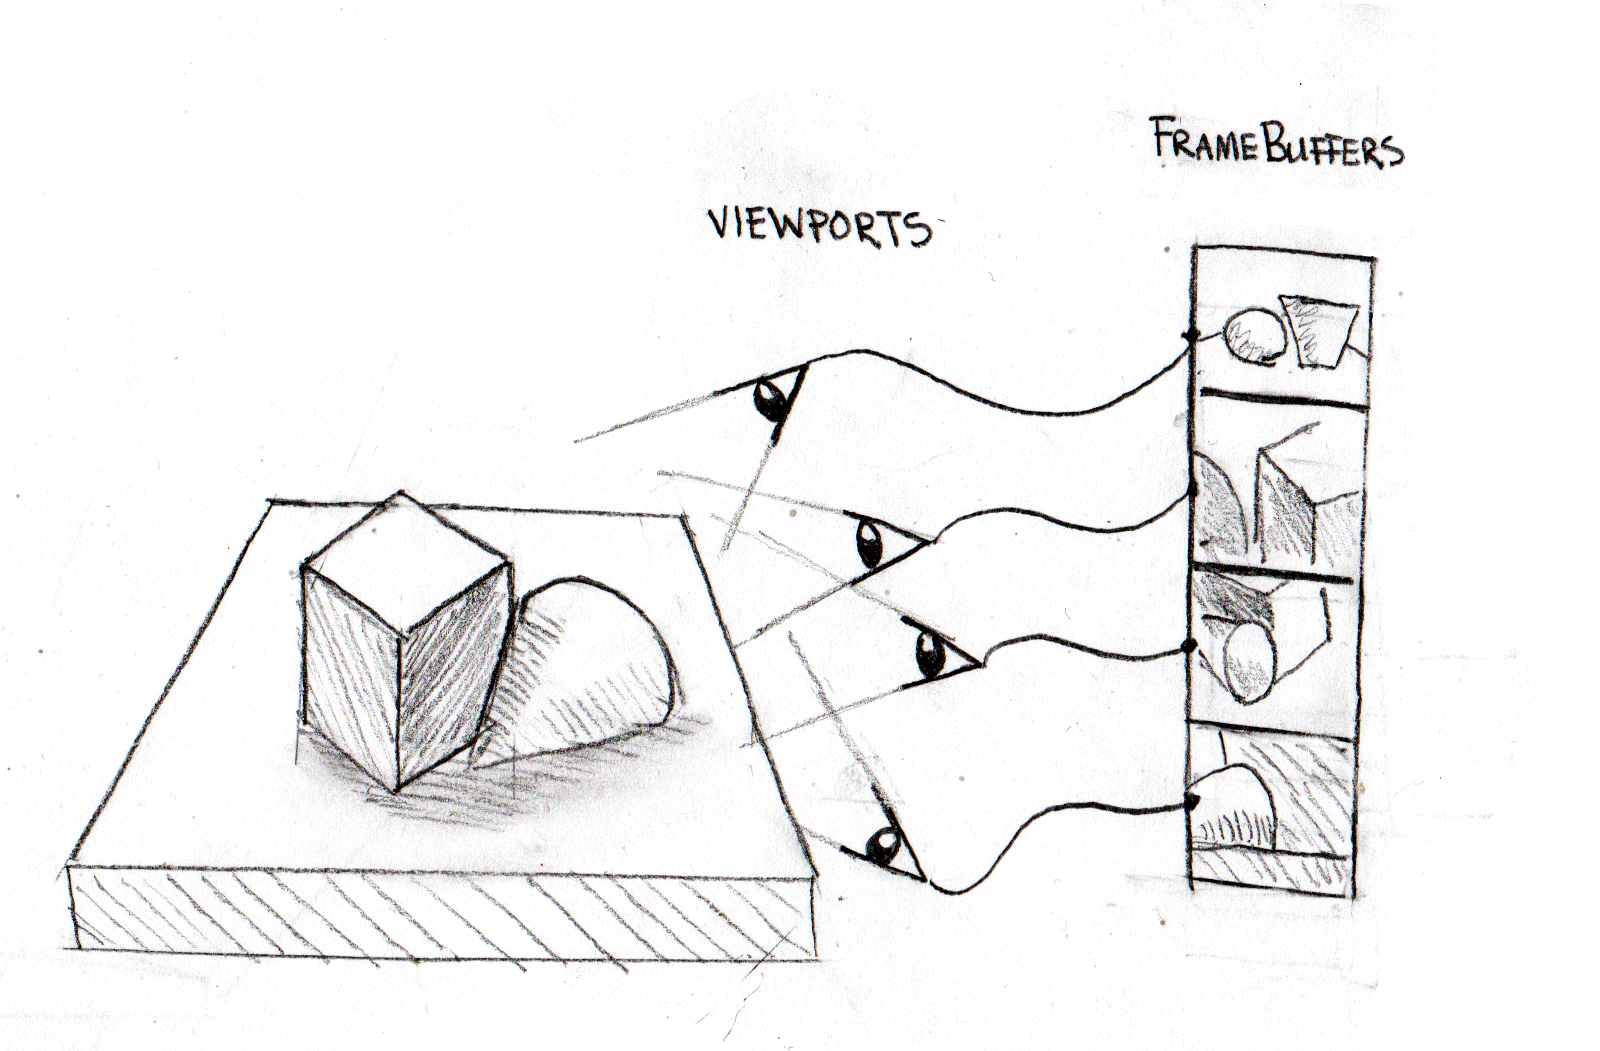
This image is perfect for what a frame buffer object actually represents! The eyes are cameras, and on the right side you can see what each frame buffer would look like if saved from those viewpoints.
I will also post some quick pictures of common post processed effects just to get a feel of what can come from a frame buffer and post processed effects.
Bloom

Obviously an example of the bloom effect, look towards the clouds and sky, even off the roof of the shed there is a bit of bloom. In this particular image the blur factor is not repeated enough times to have a smooth blur. I would suspect that these people simply didnt blur many times at decreased resolutions. For example, they should have blured at 1/4 then blurred that at 1/6 then that at 1/8, then they would have a smoother blur. Other than that this is a beautiful example of how the light areas are bloomed.
Edge Detection
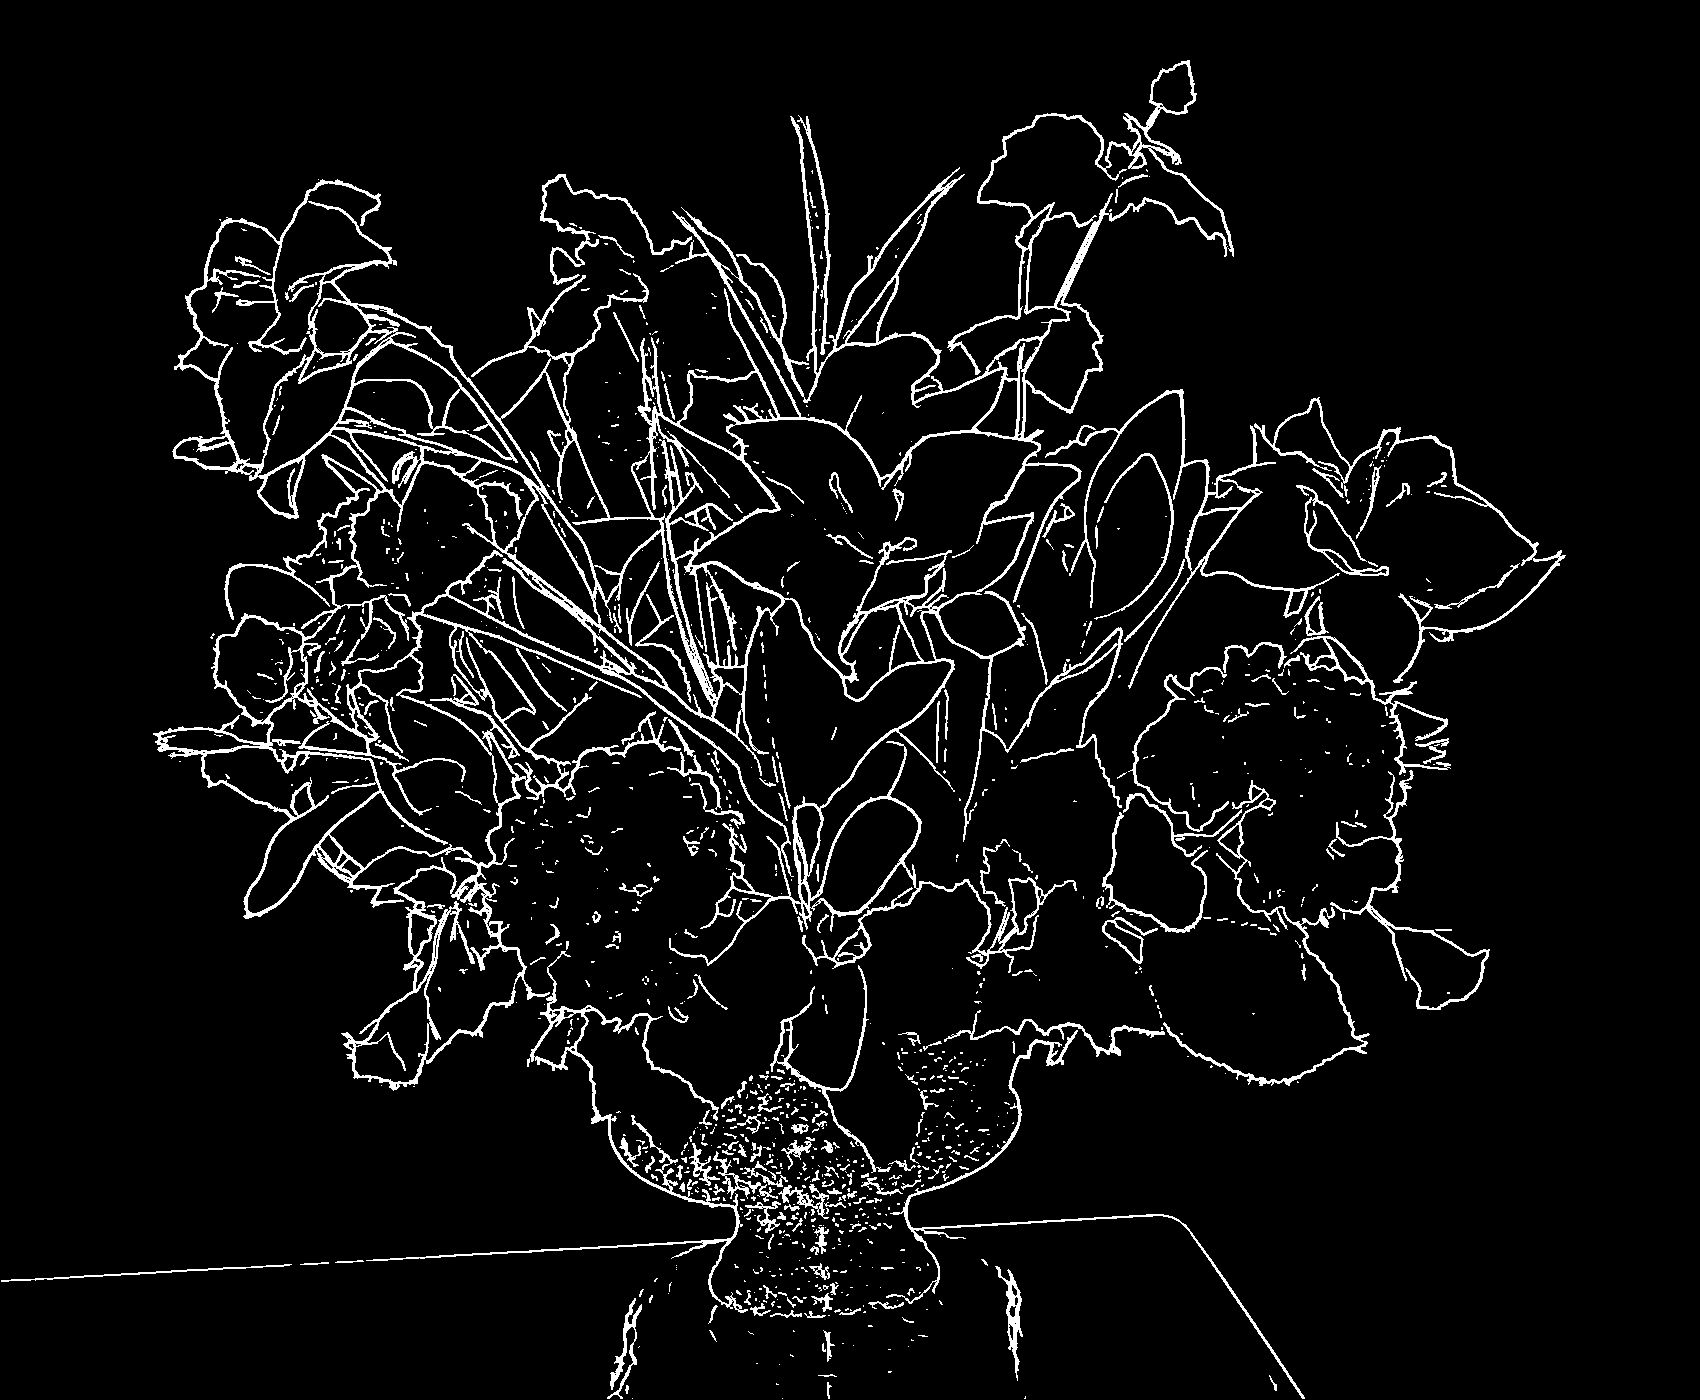
In the edge detection image you will notice that the edges are white, why is this? Well its done because of the fact that they are colored white. What the edge detection post processing effect does is check the depth of the image against each pixel, so for example a pixel that was part of the VERY edge of the leaf in this image would have a different depth than the wall pixel behind it. After checking those values the system could tell that there was obviously an edge that the leaf pixel was sitting on, and colored it white. For a really good formula that we even decided to use in our game check this link out!
For sake of length I will give one last example of a neat post processed effect I learnt about.
Toon Shading
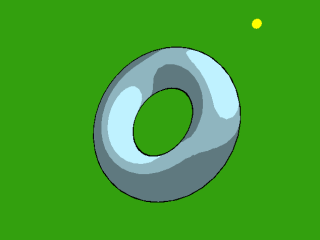
Toon shading is more of a neat effect than it is widely used. Basically as the image suggests it takes the normal image, and shape and gives harsh colors to it without any blending. This option for coloring is the opposite of gradient (LINK TO GRADIENT EXAMPLE). Where the image in quesiton is given a harsh color and then when a certain threshold of the normal is met the color then transitions directly to the next.
The last part of Toon Shading that is kind of neat is that the black line around it is an implementation of edge detection to make the image stand out against the background, makes the effect of a cartoon image drawn with a pencil if you will.
Well those are my favorite post processing effects, for now I will leave you with one last part of advice before I hit the books for the next 24 hours. Study hard, stay true to yourself and to school and always check back in for more blogs! I will be more active in the next few weeks.
Stay tuned for my STUDY CRUNCH series, I will be updating my blog hopefully daily and letting everyone in on my study habits and opening the doors for comments on my will to read lecture notes.
Thank you for reading! Stay tuned.
Stephen Krieg

No comments:
Post a Comment